Setup
Enjoy this tune while setting up.
GETTING STARTED
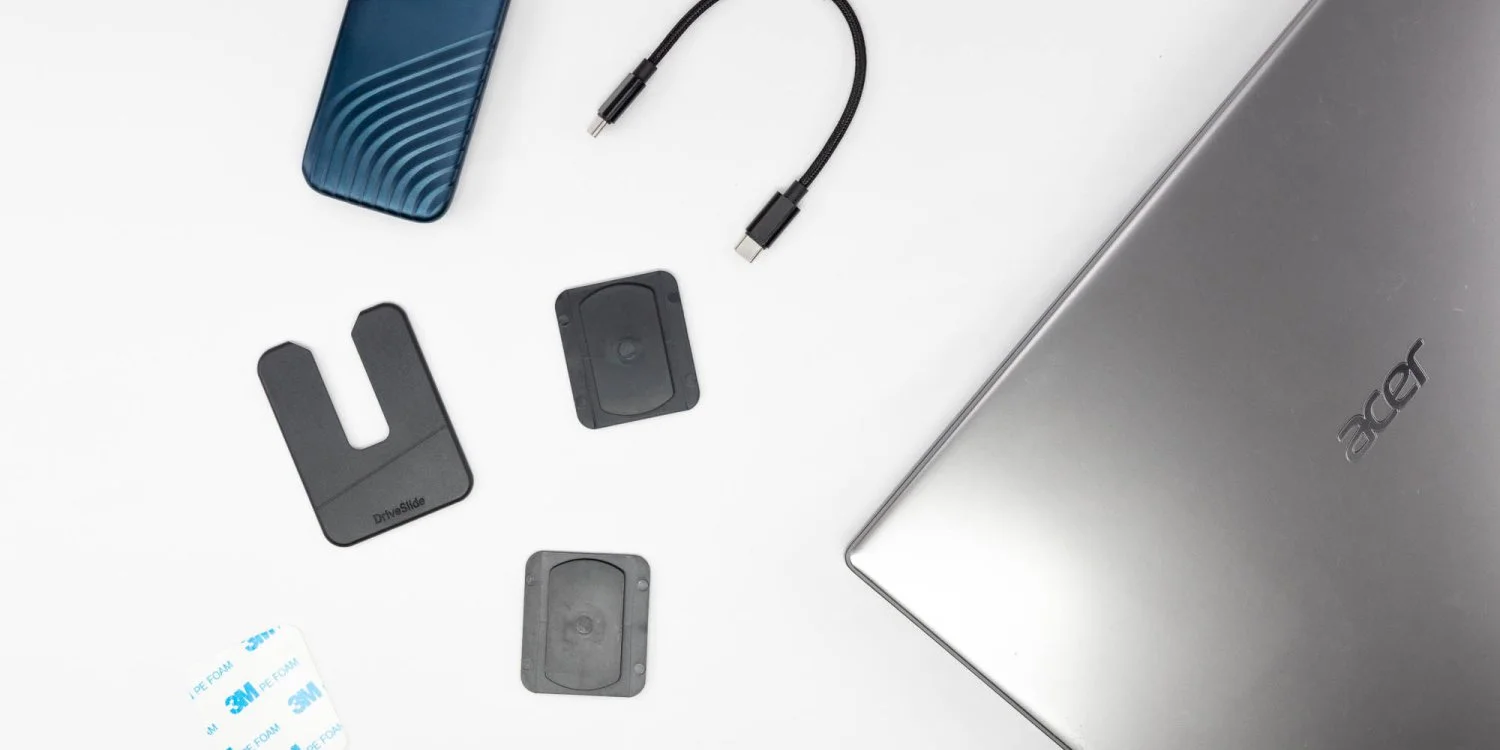
Collect your laptop, accessory, cables, and DriveSlide Lock and Key.
DECISION POINT
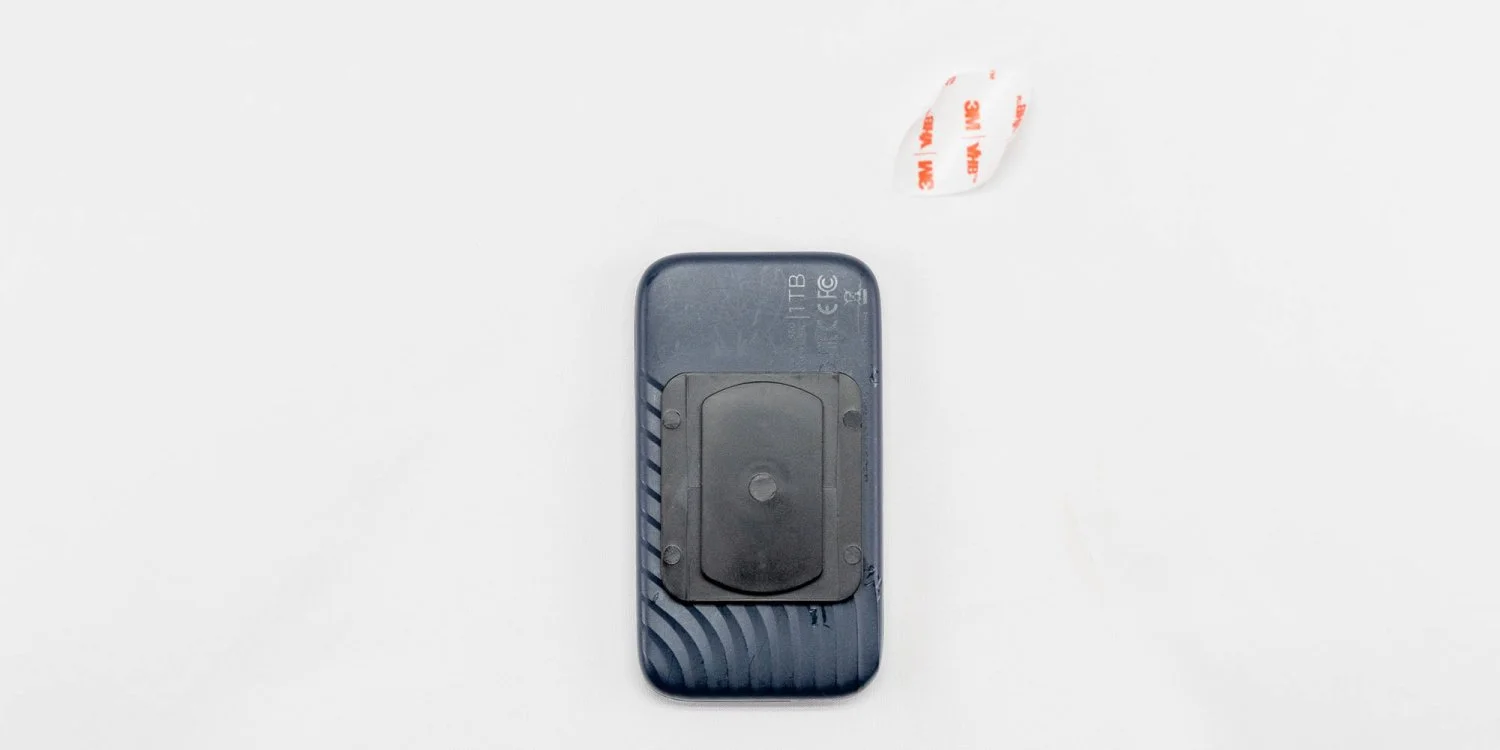
For accessories/surfaces made of: Plastic, Metal
Use the red, pre-installed adhesive.
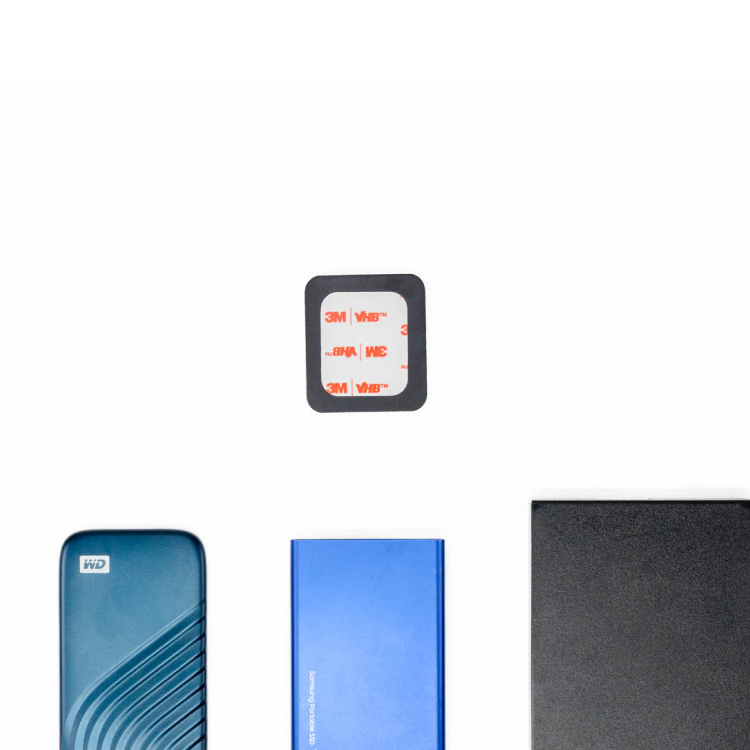
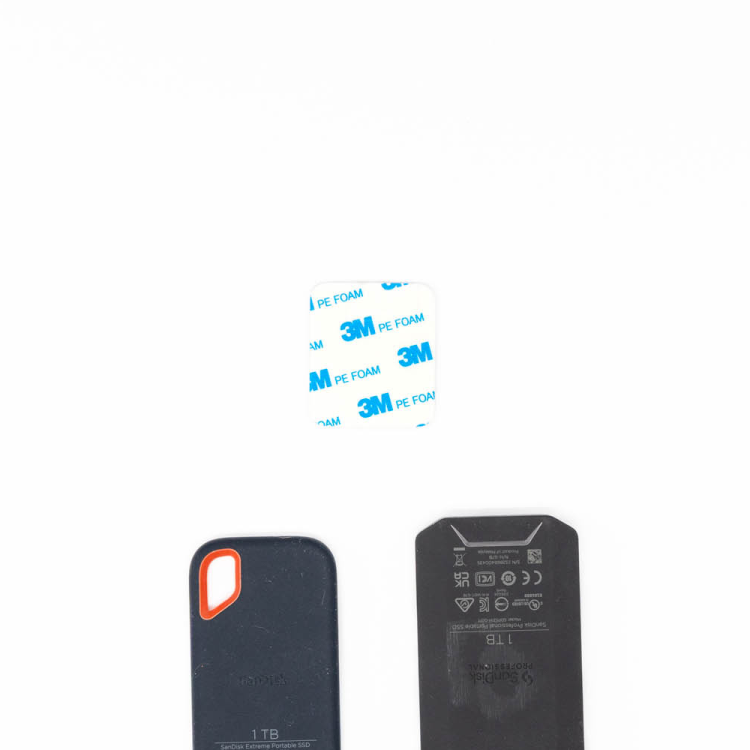
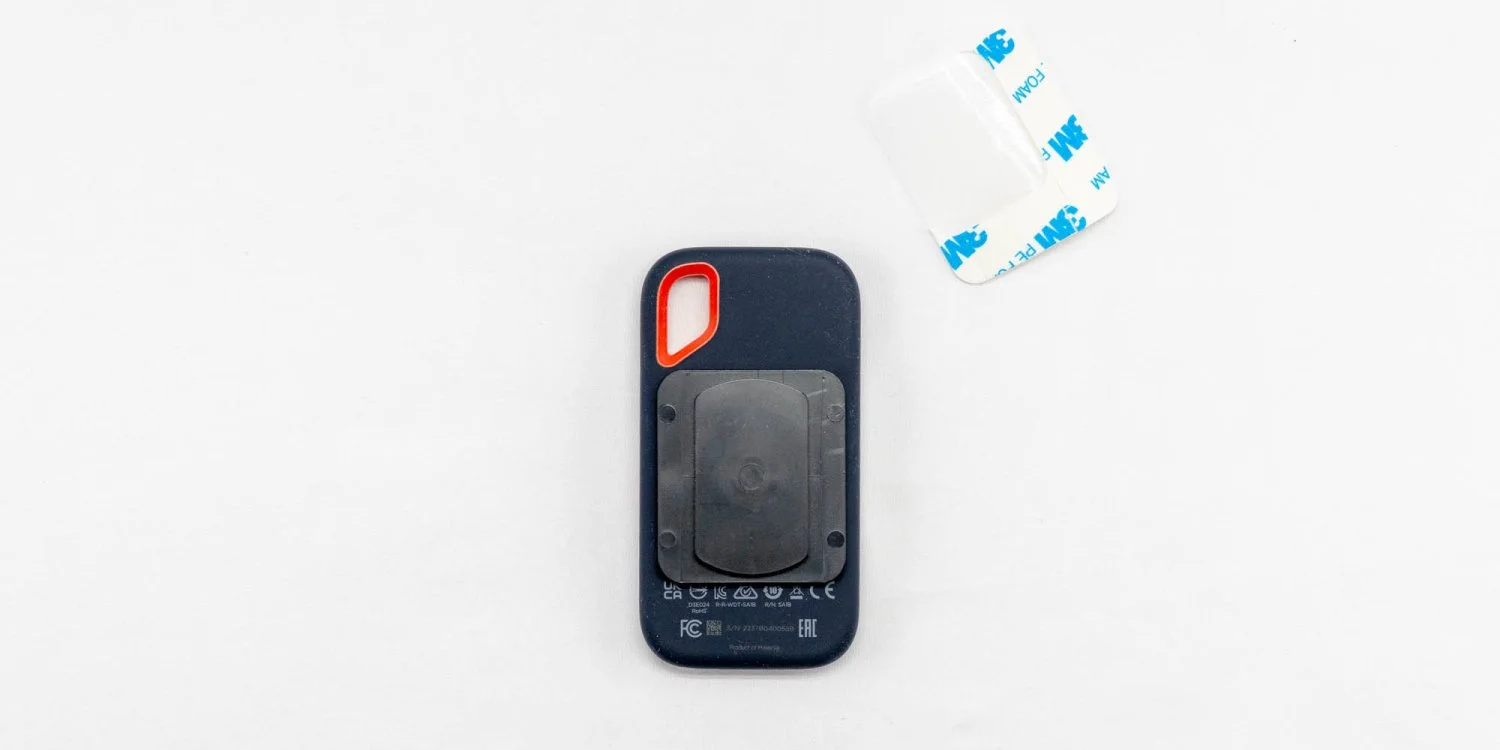
For accessories/surfaces made of: Rubber, Silicone, “Rugged”
Use the blue, included adhesive.
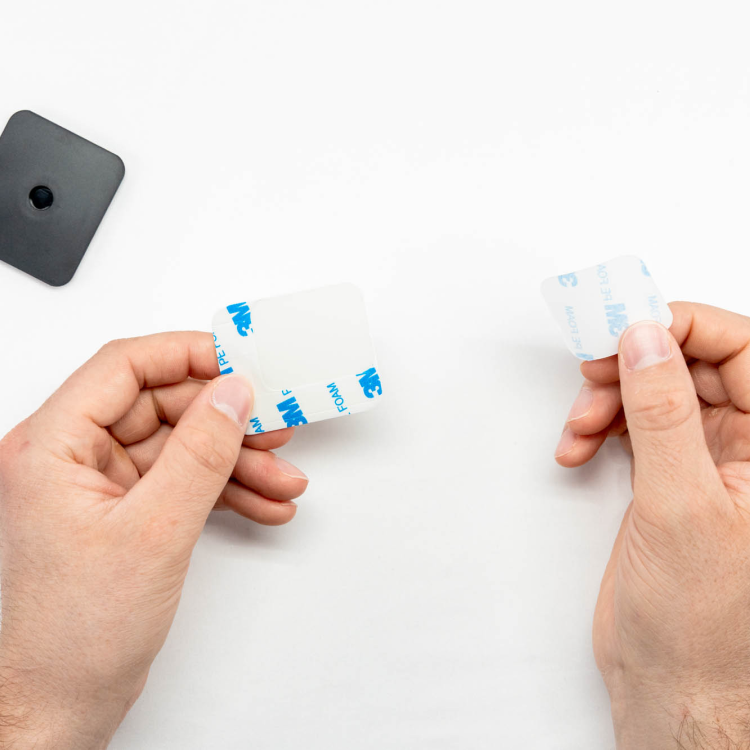
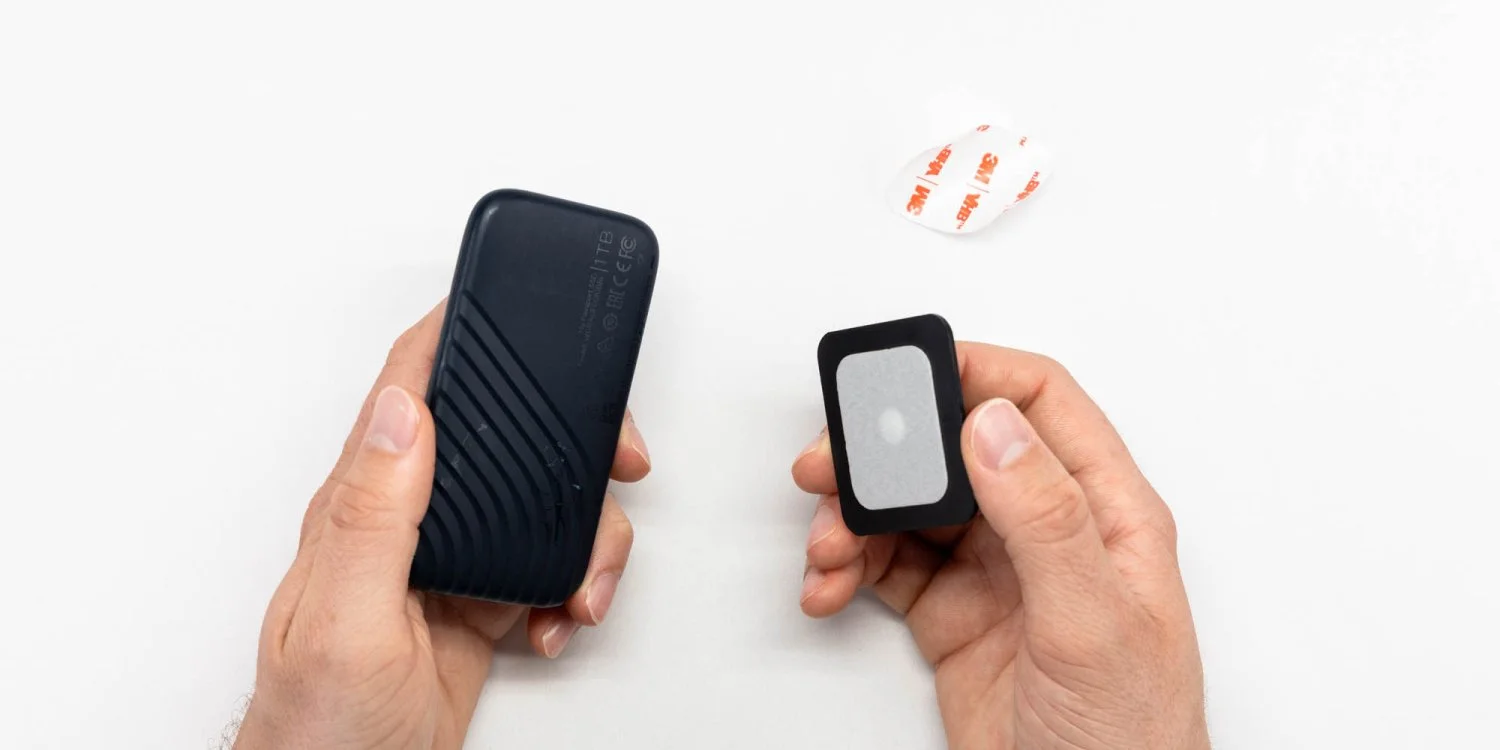
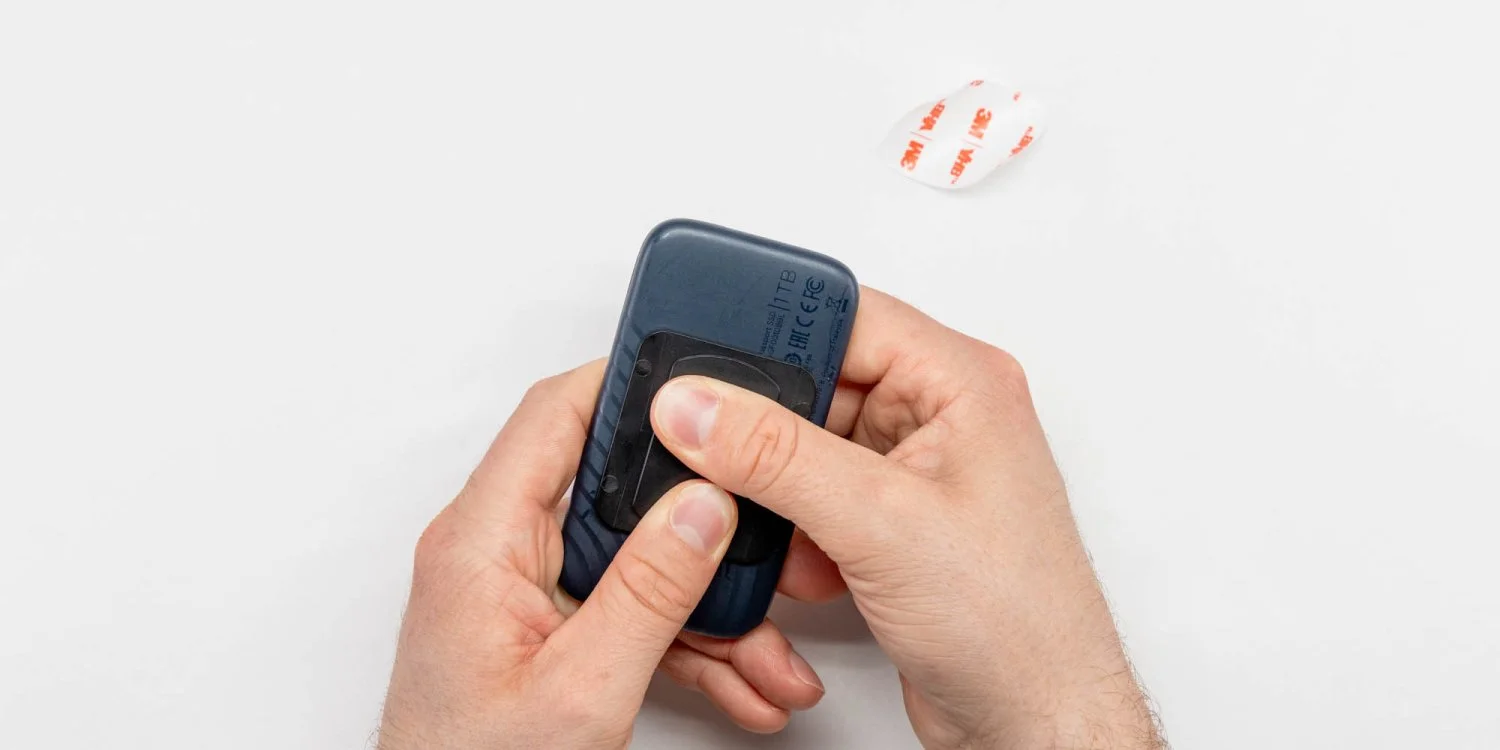
PREPARING YOUR ACCESSORY
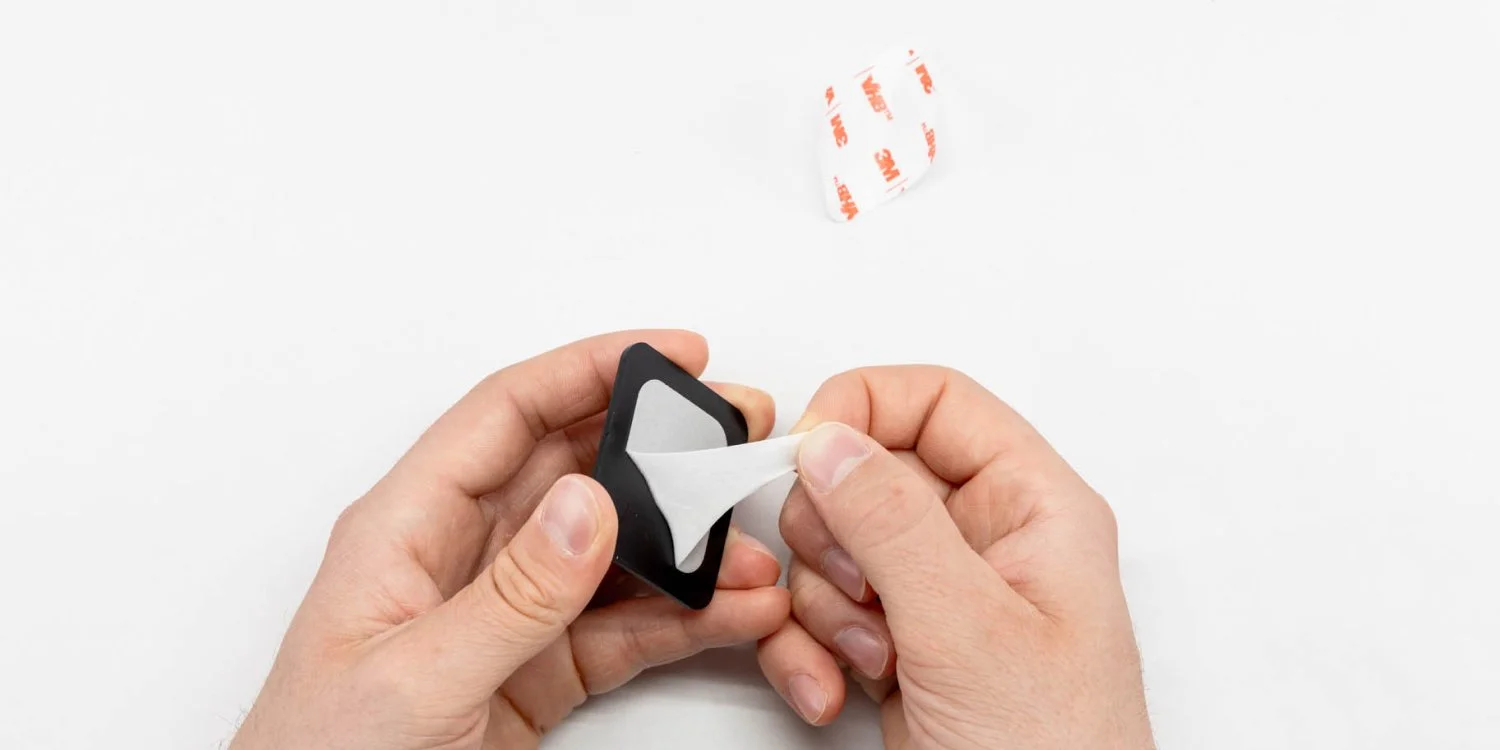
Remove the pre-installed adhesive and apply the included blue adhesive.
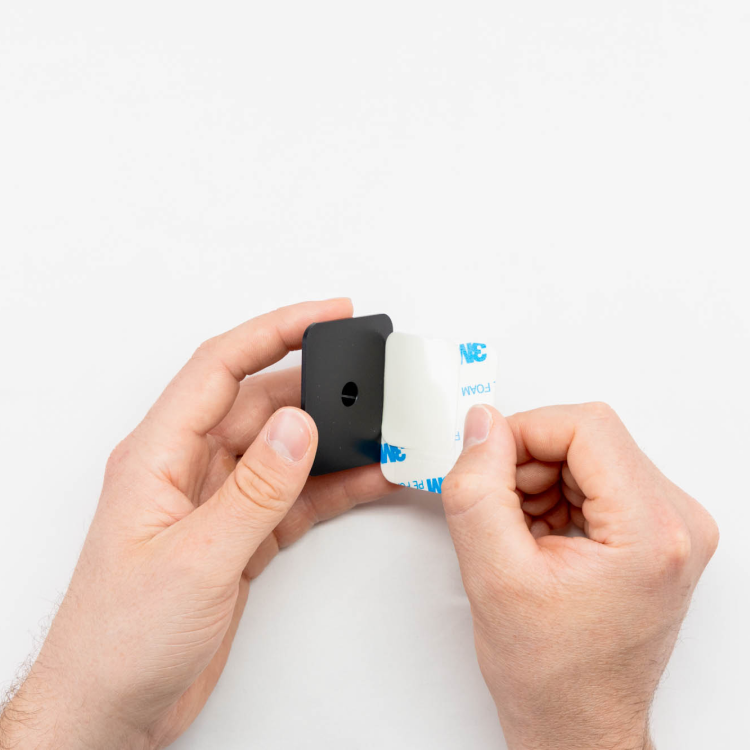
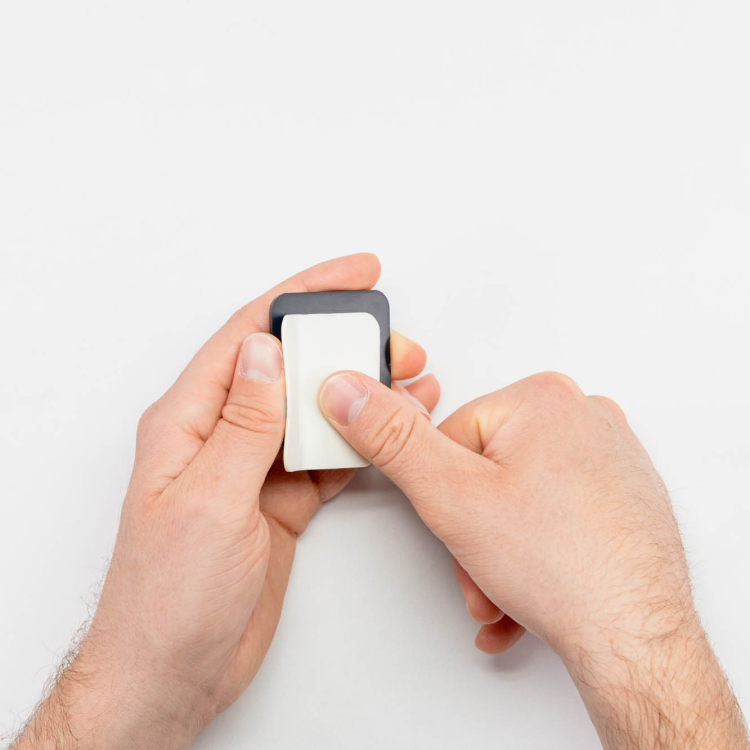
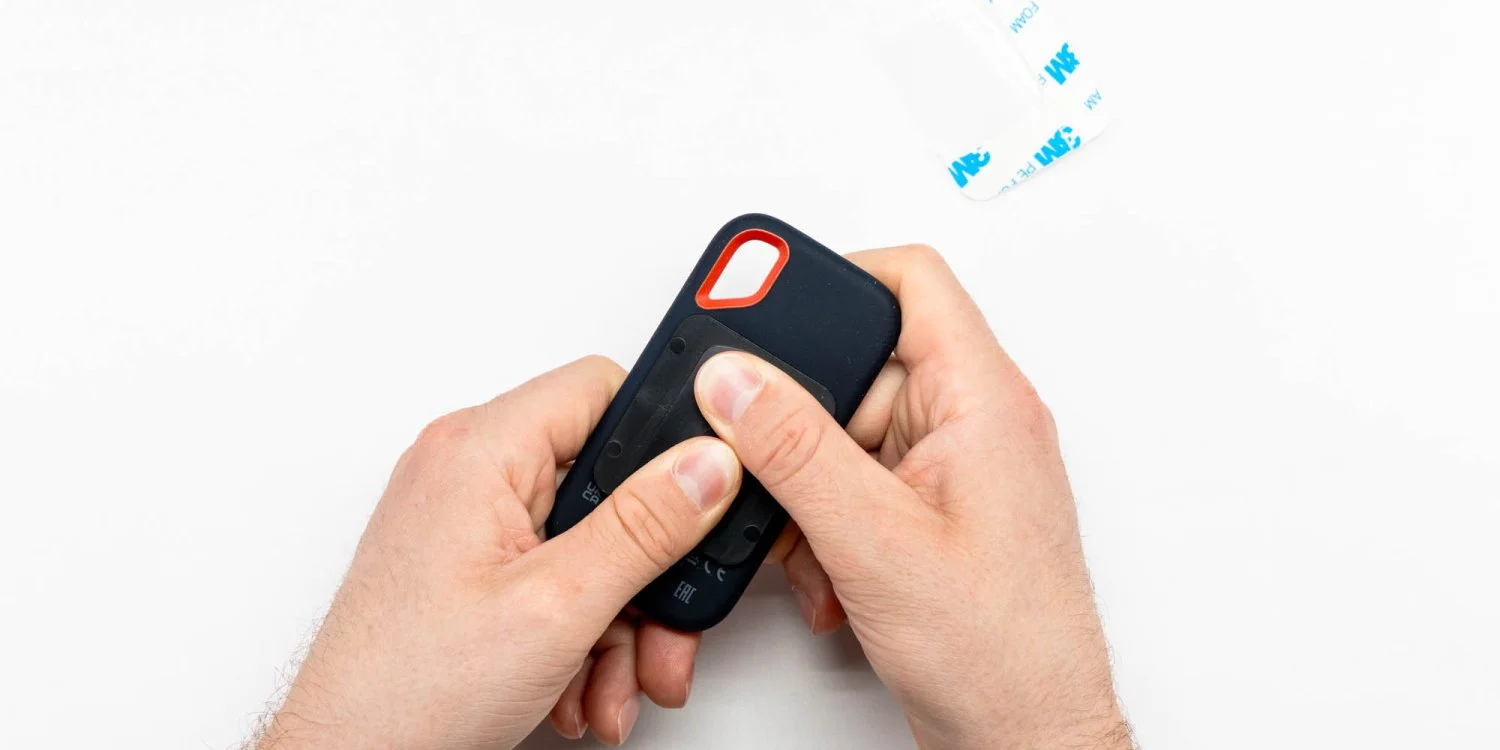
Apply the Key to your accessory.

Press firmly on the Key for 20 seconds.
Allow the Key rest on the accessory for at least 24 hours, letting the adhesive to set.
TESTING PLACEMENT
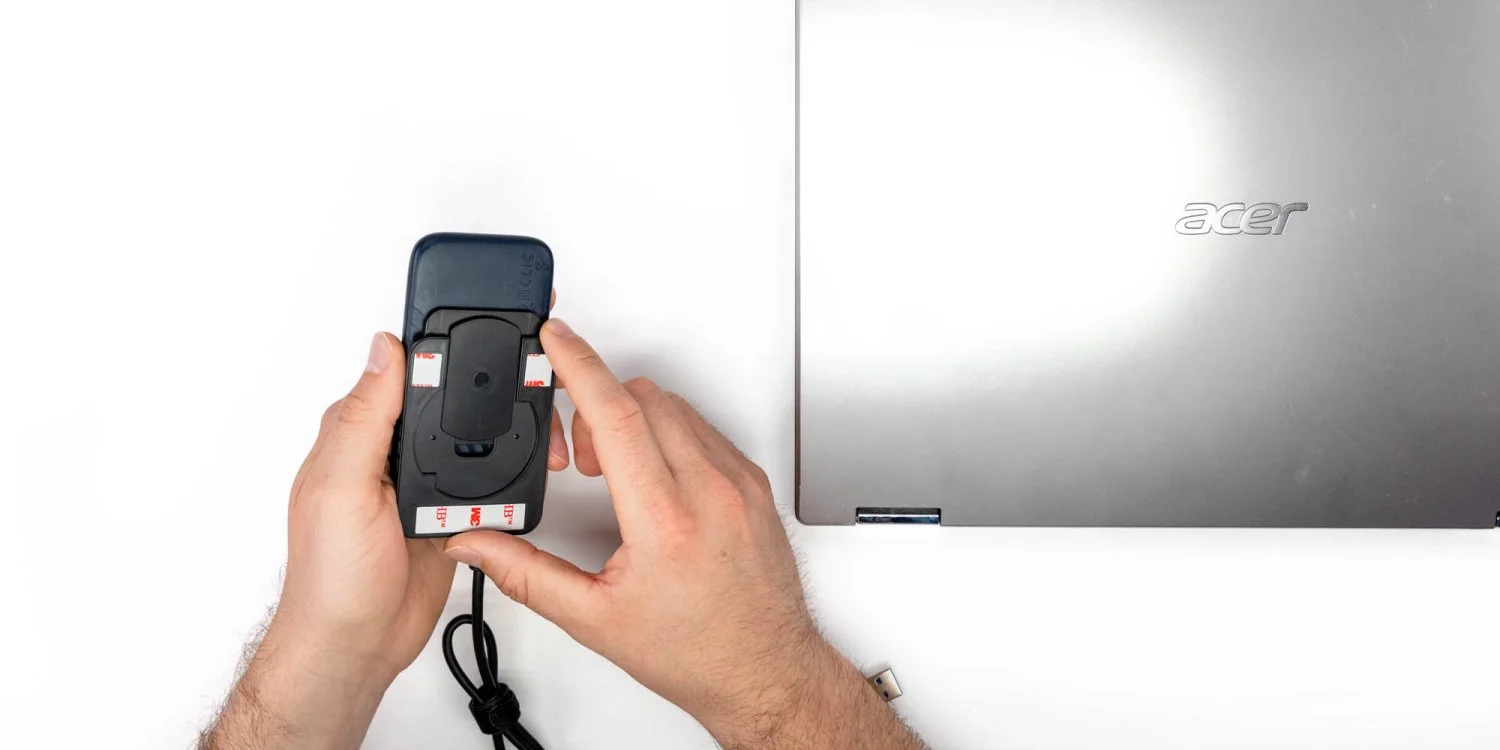
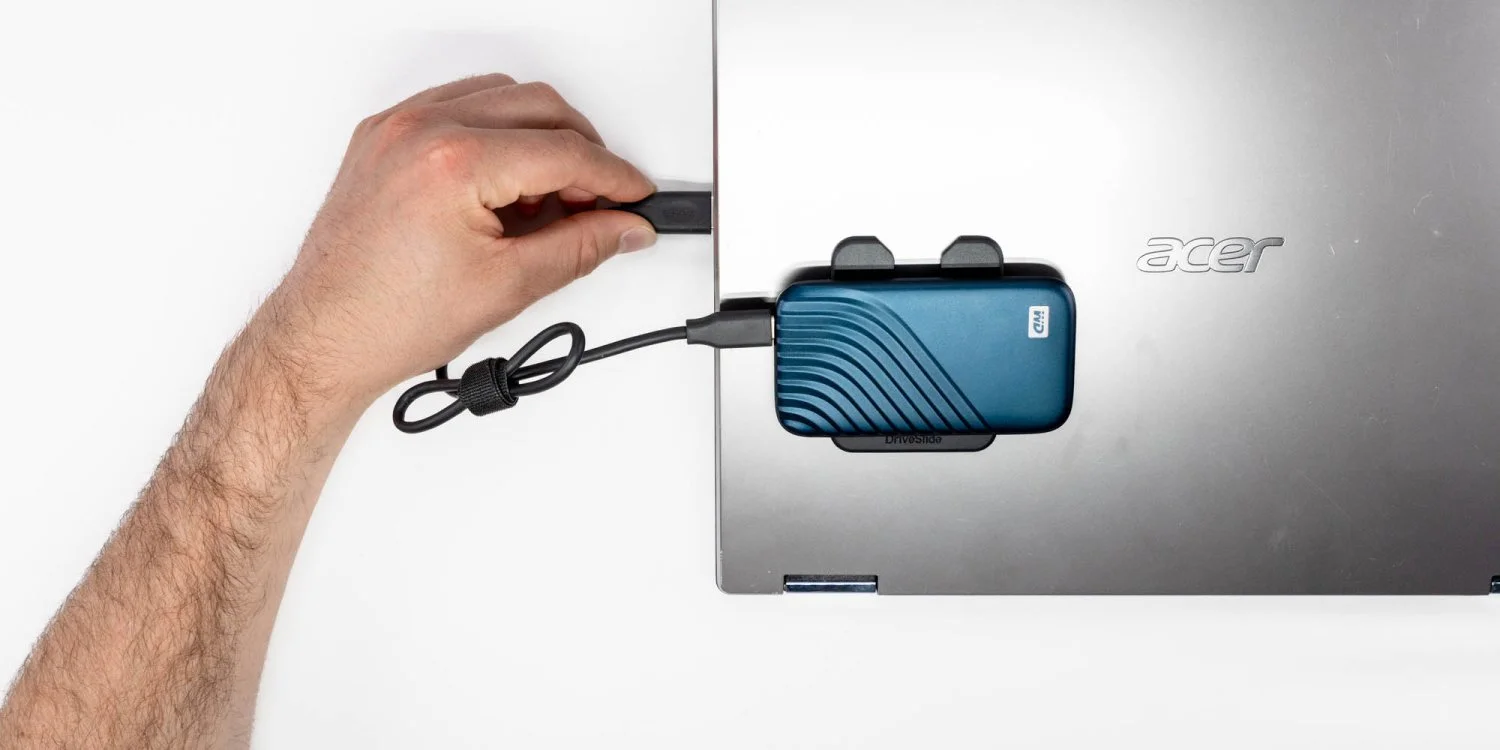
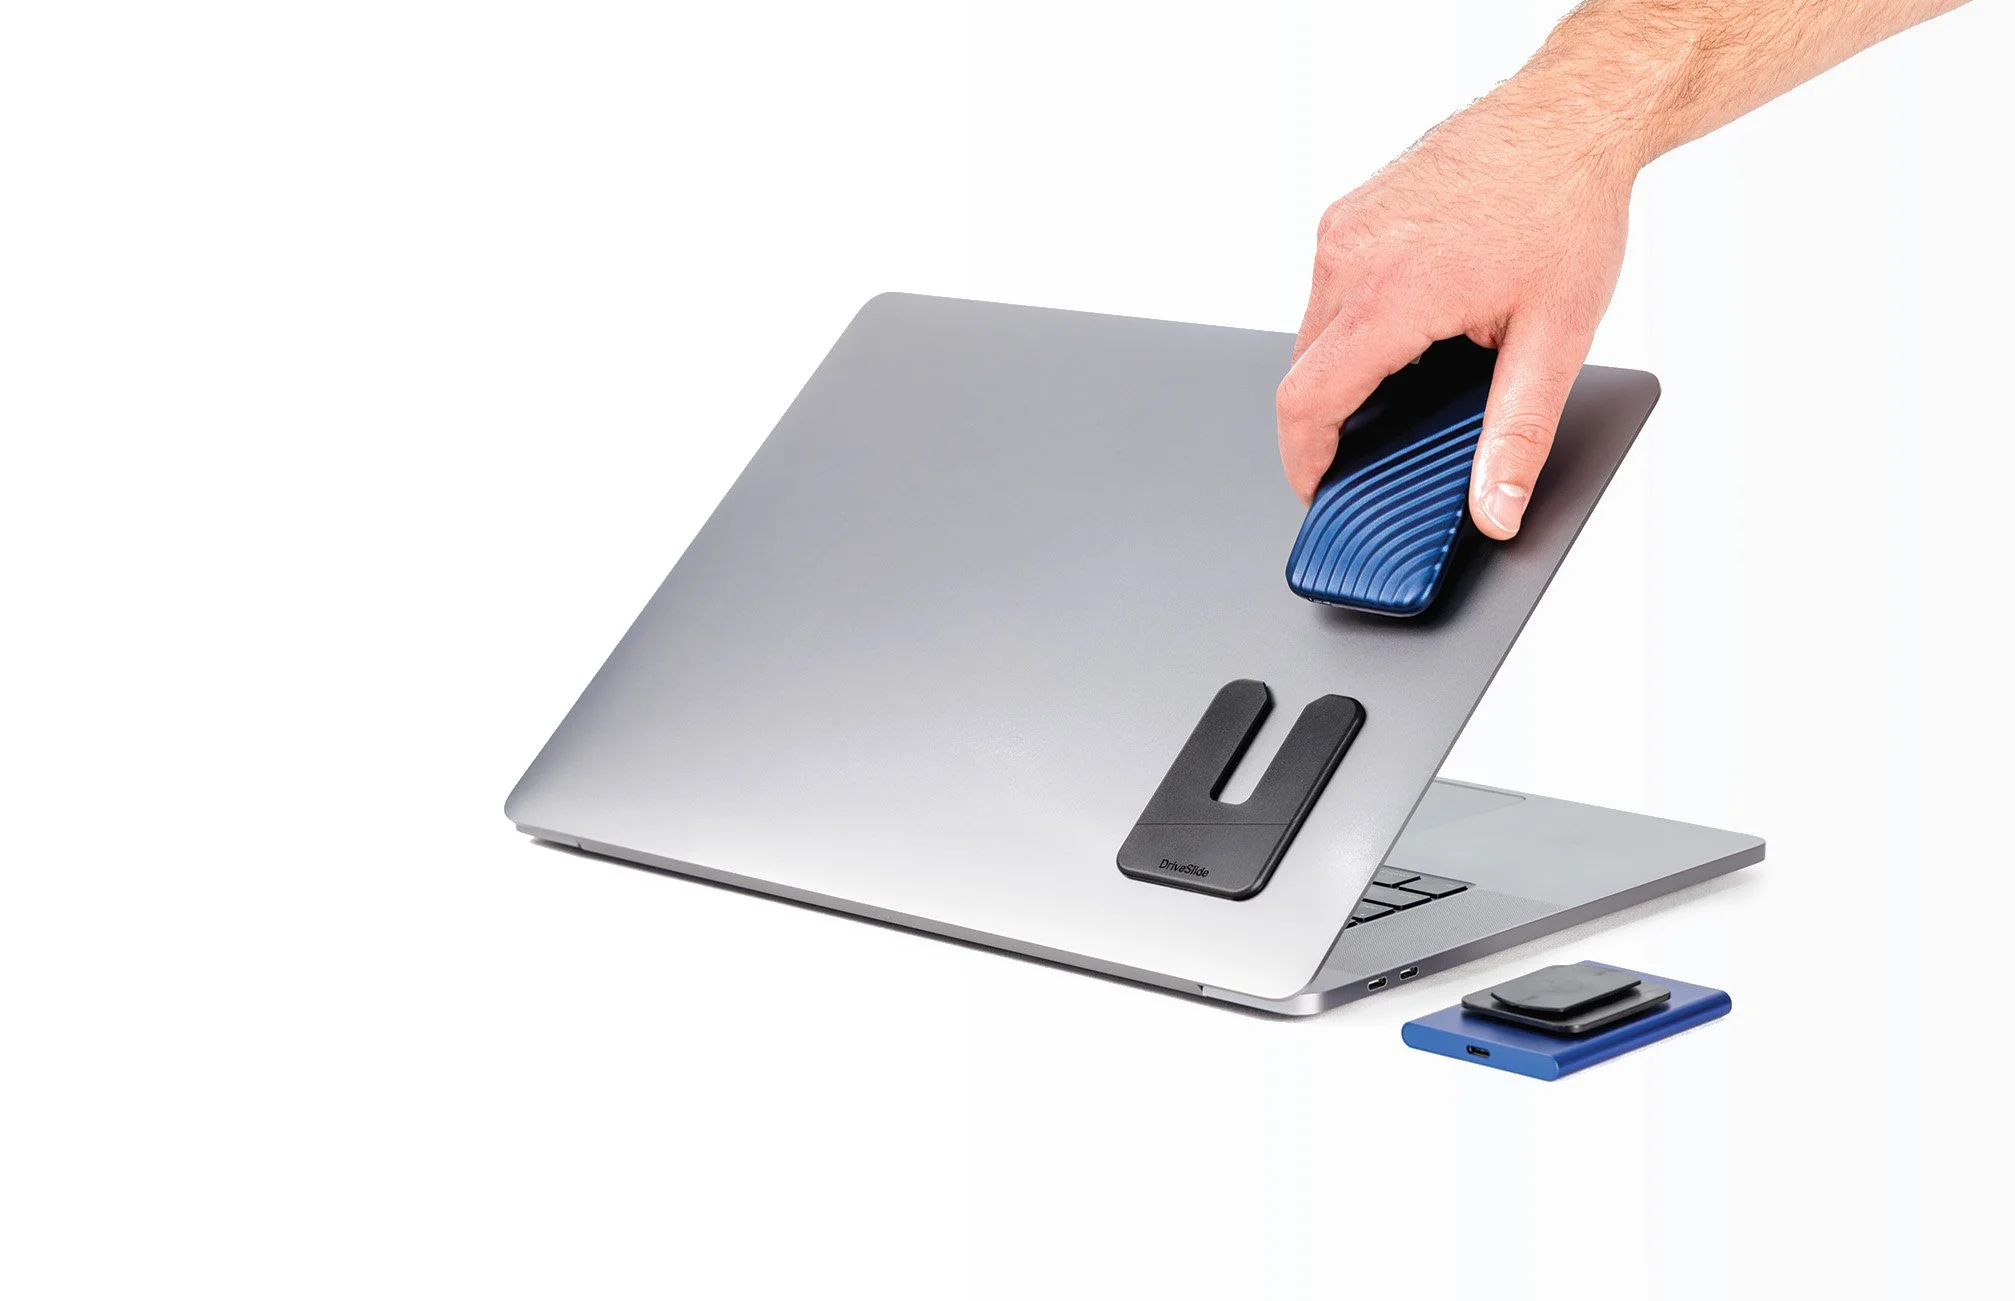
Aligning the accessory, slide onto the Lock and rotate 90 degrees into the locked position.

Connect the accessory’s cable to the computer and hover over the laptop to test placement.
PREPARING THE LOCK

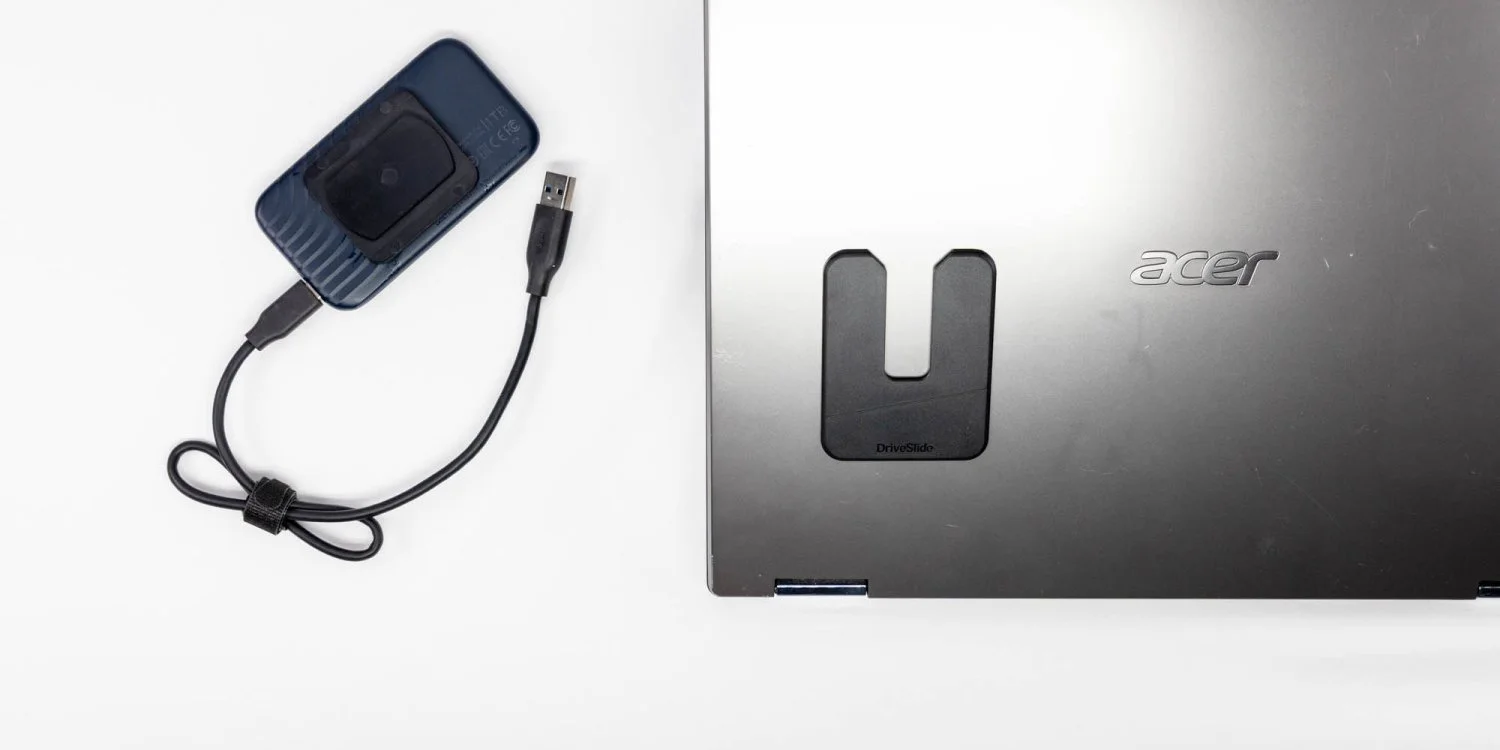
Remove the adhesive backings and place the Lock onto your laptop.
Allow the Lock rest on the laptop for at least 24 hours, letting the adhesive to set.
FINAL STEPS
Slide the accessory down onto the Lock, rotate 90 degrees clockwise—locking in place.
Connect the accessory and laptop.